


Standards for the construction process of cultural stone*
I. Preparation of materials and tools
- Main materials
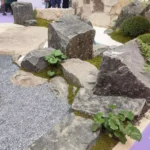
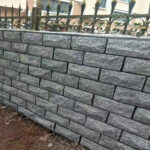
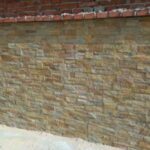
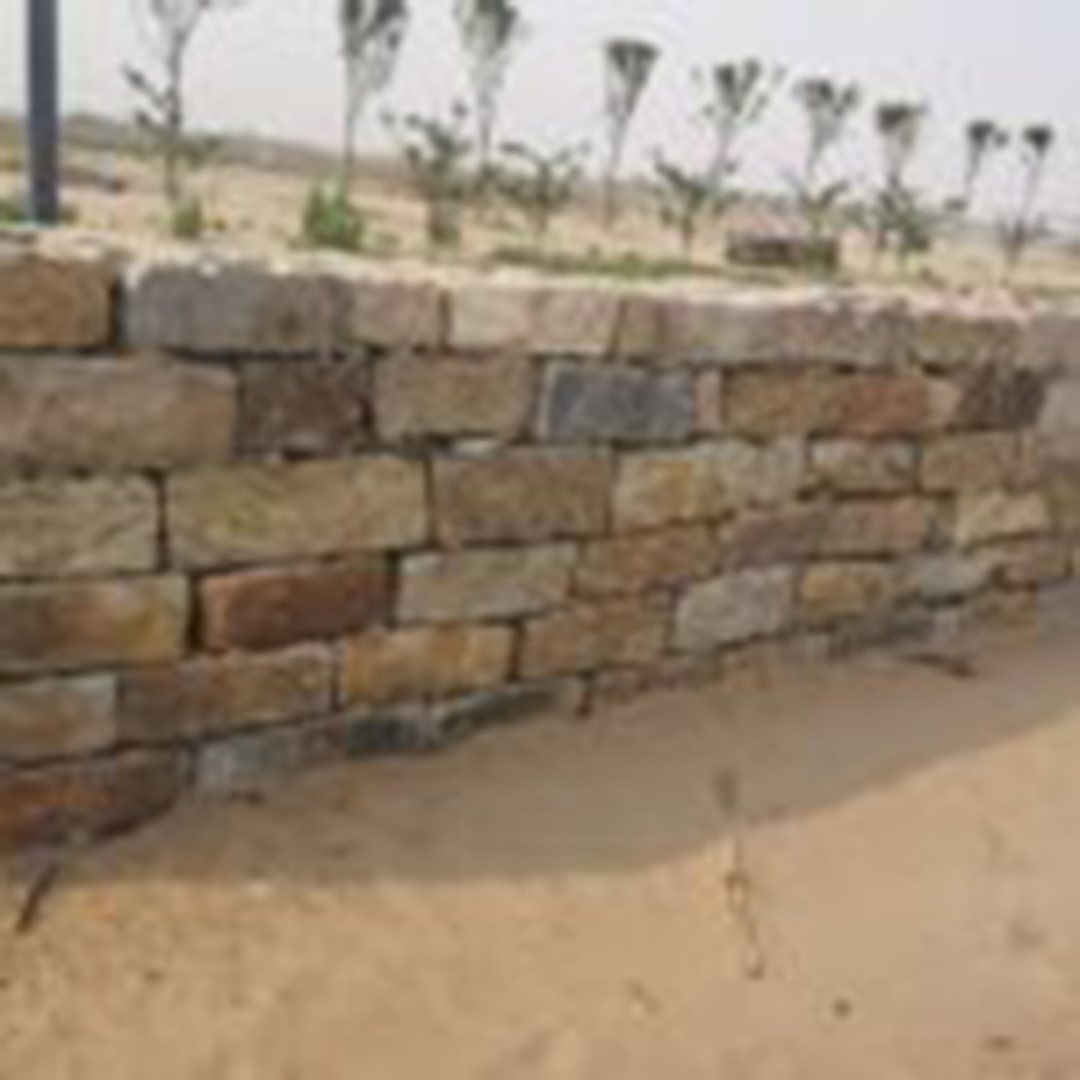
- Natural/artificial cultural stone (specifications, colors, and textures must meet design requirements)
- Cement (strength grade ≥32.5MPa) or special tile adhesive
- Grout (color coordinated with stone)
- Auxiliary materials
- Waterproofing agent (used in wet areas)
- Interface agent (enhancing the adhesion of the base layer)
- Tools
- Cutting machine, angle grinder (stone cutting)
- Toothed scraper, rubber hammer (paving tools)
- Level, ink fountain, plumb line (positioning tools)
- Brush, sponge (cleaning tools)
II. Base layer treatment
- Base layer requirements
- The wall surface must be flat, solid, without hollows, without oil stains, and the moisture content must be ≤10%.
- Concrete/brick wall: Use cement mortar for leveling, error ≤3mm/2m.
- Lightweight wall: Need to hang wire mesh for reinforcement to avoid cracking.
- Waterproof treatment
- Waterproof coating (twice, thickness ≥1.5mm) is required in wet areas such as bathrooms and exterior walls, and construction can only be carried out after acceptance.
- Interface treatment
- Apply interface agent (such as cement-based penetrating crystal type) to enhance adhesion.
Three, line layout
- Baseline positioning
- Pop up horizontal and vertical lines according to the design drawings to divide the paving area.
- Two-way line needs to be drawn at the corners to ensure neat joints.
- Pre-layout
- Pre-lay cultural stones on the ground or wall, adjust the gap (recommended gap of 3-8mm) and color transition.
- Avoid small pieces of stone on the edge, and cut the whole brick if necessary.
Fourth, paving process
- Adhesive material preparation
- Cement mortar: Cement: sand = 1:2.5 (applicable to natural cultural stone), add appropriate amount of glue powder.
- Tile adhesive: Mix according to the manufacturer’s instructions, stir and let stand for 5 minutes before use.
- Paving steps
- Use a toothed scraper to evenly apply the glue to the wall (thickness 5-8mm) and the back of the stone.
- Lay layer by layer from bottom to top, tap and compact with a rubber hammer to ensure that the glue is full.
- Use a level to check the flatness and adjust the gap to be uniform.
- Use staggered paving at corners to avoid through seams.
- Special treatment
- Special-shaped parts (such as door and window openings) need to be cut on site, and the cuts are polished smooth.
- 45° chamfered splicing or special corner stones are used for external corners.
Fifth, grouting treatment
- Timing of grouting
- Grouting should be done 24 hours after paving (cement-based mortar needs to be completely cured).
- Grouting process
- Use a grouting knife to press the grouting agent into the gap to ensure that it is dense and has no voids.
- Use a brush to clean the surface residue when it is semi-dry. The grouting depth is 1/3 of the thickness of the stone.
- After the grouting agent is cured (about 24 hours), wipe the surface with a sponge dipped in clean water.
Sixth, maintenance and protection
- Maintenance requirements
- Avoid vibration or rain within 48 hours after construction.
- Cement-based grouting agent needs to be sprayed with water for 2-3 days (twice a day).
- Finished product protection
- Cover the surface with a film to avoid contamination or scratches from subsequent construction.
VII. Acceptance criteria
| Project | Allowable deviation | Inspection method |
|---|---|---|
| Surface flatness | ≤3mm/2m | 2m ruler + feeler gauge |
| Joint straightness | ≤2mm/5m | Wire check |
| Hollow rate | ≤5% (single hollow ≤10%) | Knocking check |
| Joint fullness | ≥90% | Visual inspection + steel needle detection |
VIII. Precautions
- Safety measures
- Wear a safety rope when working at high altitudes, and wear protective glasses when cutting stones.
- Material storage
- Cultural stones should be stored in a moisture-proof and sun-proof place to avoid pollution.
- Special climate construction
- The construction environment temperature in winter is ≥5℃, and antifreeze needs to be added.
- Rain shelters need to be set up in rainy season to prevent the glue from being washed away.
Appendix: Construction node diagram, material inspection report, construction safety briefing record.
Details can be adjusted according to actual project needs. It is recommended to conduct technical briefings before construction and make sample sections to confirm the effect.